

-

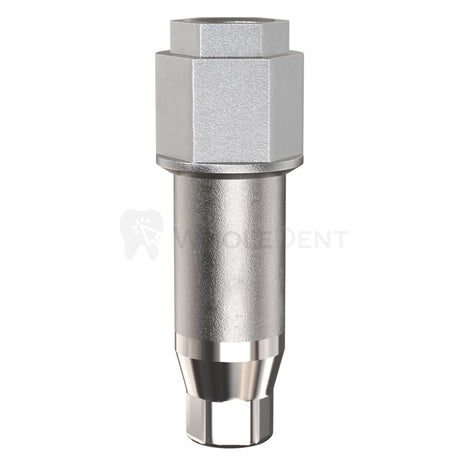
Cuerpo de escaneo GDT PEEK
$39.00 as low as $35.10Precio unitario /Agotado -
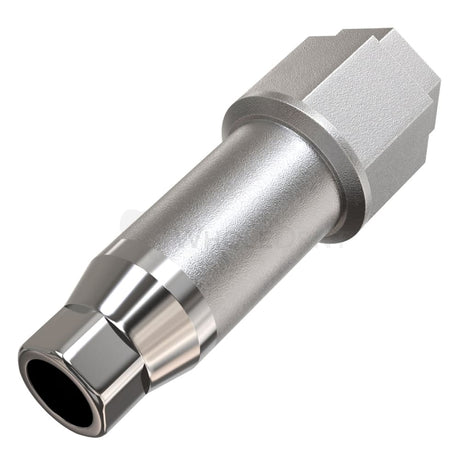
Plataforma delgada con cuerpo de escaneo de titanio GDT
$33.50 as low as $30.15Precio unitario /Agotado -
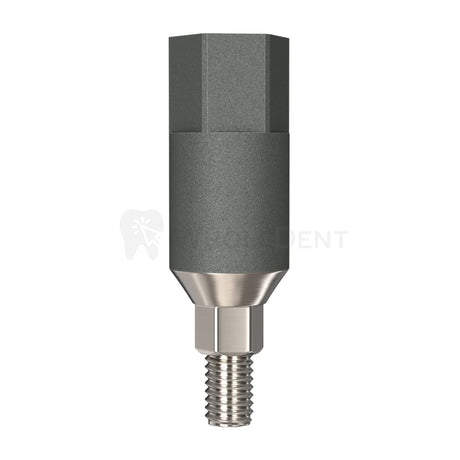
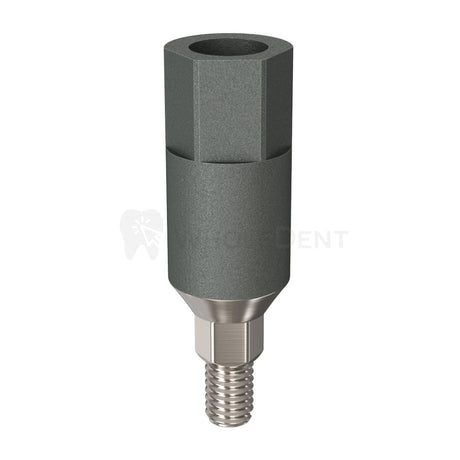
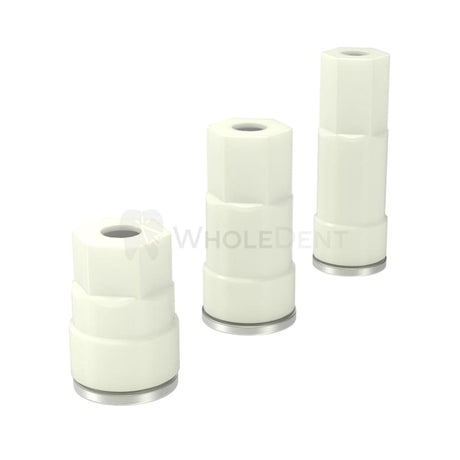
Cuerpo de escaneo GDT PEEK para unidades múltiples
$33.50 as low as $30.15Precio unitario /Agotado -
Cuerpo de escaneo GDT PEEK para unidades múltiples
$33.50 as low as $30.15Precio unitario /Agotado -
Cuerpo de escaneo GDT PEEK
$39.00 as low as $35.10Precio unitario /Agotado -
Cuerpo de escaneo GDT PEEK
$39.00 as low as $35.10Precio unitario /Agotado -
Cuerpo de escaneo GDT PEEK
$33.50 as low as $30.15Precio unitario /Agotado


FAQs
When selecting a scan post, clinicians must prioritize compatibility, scan accuracy, and ease of placement. Always verify that the scan post is fully compatible with the implant system in use—both in terms of platform connection (e.g., internal hex, conical connection) and material tolerances. Intraoral scan bodies must offer high scan resolution and precise geometry recognition by the scanner. For intraoral scanning, PEEK or titanium-coated PEEK materials are preferred due to their radiolucency and contrast for digital acquisition. Select a scan body with anti-rotation features and a defined insertion axis to ensure reproducibility and accuracy. Clinical Tip: Use high-quality scan bodies that are autoclavable up to 10–20 cycles without loss of precision. Always inspect scan posts for wear or discoloration that could affect scan fidelity. Secure them with torque as recommended (commonly 5–10 Ncm) to avoid positional errors during scanning.
Scan posts (scan bodies) directly affect the accuracy of digital impressions by serving as the reference geometry for implant position, angulation, and depth. Compared to conventional analog impressions, digital workflows eliminate many sources of distortion—such as material shrinkage, tray flexibility, or improper seating of impression copings. However, this advantage is only realized when scan posts are seated correctly, and the software libraries (STLs) are properly matched. Studies consistently show that digital impressions using well-designed scan posts can achieve accuracy comparable to, or in many cases better than, traditional impressions—especially for single units or short-span bridges. For full-arch cases, however, care must be taken to control scanning path, lighting, and software stitching errors. Practical Advice: When scanning multiple implants, start with the most distal implant and follow a zigzag pattern to reduce stitching artifacts. Always cross-check with a verification jig or passive fitting temporary restoration for full-arch cases.
Successful scan post placement requires a dry field, full seating, and correct orientation. Ensure that soft tissue is fully retracted so that the scan body is completely visible to the scanner. Confirm tactile seating and radiographically check in cases with deep tissue levels. Use visual or tactile markers to orient the scan post if it has asymmetrical geometry. Errors often arise from improperly seated scan posts, especially when soft tissue or bone interferes. Minor rotational discrepancies may not be visible but can lead to significant prosthetic misfits. Clinical Tip: Use a mirror or intraoral camera to double-check seating before scanning. Consider removing the healing abutment and seating the scan post once the tissue has stabilized to avoid gingival impingement.
Proper use of digital libraries is critical for accurate CAD/CAM restorations. Each scan post must have a matching digital library file (usually .STL or .library format) that the software uses to position the implant analog. Misalignment between the physical scan post and the digital representation leads to prosthetic discrepancies. Ensure that the lab or chairside software uses the exact library provided by the manufacturer of the scan post. Avoid generic libraries unless explicitly designed for cross-compatibility. Practical Advice: Create a shared digital library folder accessible to both clinic and lab to minimize errors. Always update software to include the latest versions of scan post libraries and confirm the implant system and platform type before exporting files.